Section 1: Introduction to Arch Linux
Arch Linux, one of the most popular Linux distributions, is known for its simplicity, user-centric approach, and versatility. While it’s primarily aimed at more experienced Linux users, beginners eager to learn more about Linux can also appreciate it.
If you’re thinking about taking the plunge and wondering how to install Arch Linux, this guide is for you. It aims to demystify the installation process and provide a comprehensive walkthrough to set up Arch Linux successfully.
Although the installation process might seem daunting initially, this step-by-step guide, when followed diligently, will give you a thorough understanding of how to install Arch Linux. It will guide you through the journey from downloading the ISO file to booting your system with a freshly installed Arch Linux.
Section 2: Pre-Installation Essentials
Before diving into the actual installation process, there are a few things you need to do. Firstly, visit the official Arch Linux website and download the latest ISO file. Be sure to verify the file using the provided checksum.
Next, create a bootable USB stick using the downloaded ISO file. Several tools, such as Rufus or Etcher, can help you create a bootable USB. If you’re already using a Linux distribution, the ‘dd’ command in the terminal is another way to achieve this.
Additionally, ensure that your system’s BIOS is set to boot from the USB stick. The method to access BIOS settings varies across different machines. Commonly, it involves pressing a specific key (like F2, F10, or Del) during system startup.
Section 3: Initiating the Arch Linux Installation Process
Once you’ve set your system to boot from the USB stick, restart your machine. On startup, you should see the Arch Linux boot menu. Here, select ‘Boot Arch Linux’ to proceed.
In the command line interface that appears, the first step is to check if your system’s BIOS is in UEFI mode by typing ‘ls /sys/firmware/efi/efivars’. If the directory exists, you’re in UEFI mode, which is essential for the next steps.
You then need to connect to the internet, partition your hard drive, format the partitions, and mount the file system. Each step is carried out using specific commands in the terminal. It’s essential to follow the instructions precisely as data loss can occur if these steps are incorrectly executed.
- Connect to the Internet: Arch Linux’s installation is network-based, which means you must have an internet connection to download the necessary files. This can be achieved by connecting via Ethernet or Wi-Fi. For Wi-Fi, use the
iwctlcommand and follow the prompts to connect. - Partition the Hard Drive: Partitions can be created using tools like
fdiskorparted. For example, to usefdisk, the command would befdisk /dev/sda(replacesdawith your drive name). - Format the Partitions: Once the partitions are created, they must be formatted. For example, to format a partition with an ext4 filesystem, you would use
mkfs.ext4 /dev/sda1(replacesda1with your partition name). - Mount the File System: After formatting, you need to mount the partitions. Typically, the root partition is mounted to
/mntwith the commandmount /dev/sda1 /mnt(replacesda1with your root partition).
Note: In case you've created a separate partition for home or any other directory, they should also be mounted accordingly.
- Installation of the Base System: With the
pacstrapscript, install the base package:pacstrap /mnt base linux linux-firmware. This installs the base system along with the Linux kernel and firmware. - Generate an Fstab File: Generate an
fstabfile to define how disk partitions, block devices, or remote filesystems should be mounted into the filesystem. This can be done with thegenfstabcommand:genfstab -U /mnt >> /mnt/etc/fstab. - Chroot Into Your New System: Change root into the new system with
arch-chroot /mnt. This allows you to work in the newly installed environment. - Set Timezone, Locale, and Other Settings: Various commands are used for these settings, such as
ln -sf /usr/share/zoneinfo/Region/City /etc/localtimefor time zone, andlocale-genafter uncommenting required locales in/etc/locale.genfor locales. - Configure the Network: You’ll need to set a hostname and enable the
dhcpcdservice for network management. - Install a Bootloader: To be able to boot your Arch Linux system, you’ll need a bootloader.
grubis a common choice for many users. Install it usingpacman -S grub, and then install it to your hard drive withgrub-install --target=i386-pc /dev/sdaandgrub-mkconfig -o /boot/grub/grub.cfg.
Remember to replace /dev/sda with your own drive.
- Set a Root Password: Use the
passwdcommand to set a new password for the root account.
Once you’ve completed all these steps, you should be able to exit the chroot environment and reboot into your new Arch Linux installation.
Section 4: Completing the Arch Linux Installation
After mounting the file system, you can proceed to install the base system onto your hard drive using the ‘pacstrap’ command. Once completed, generate an fstab file, which will define how disk partitions should be mounted.
Next, chroot (change root) into your new system, set your time zone, adjust the hardware clock, and set the locale. Also, you’ll need to configure the network for your new system, install a bootloader, and set a root password.
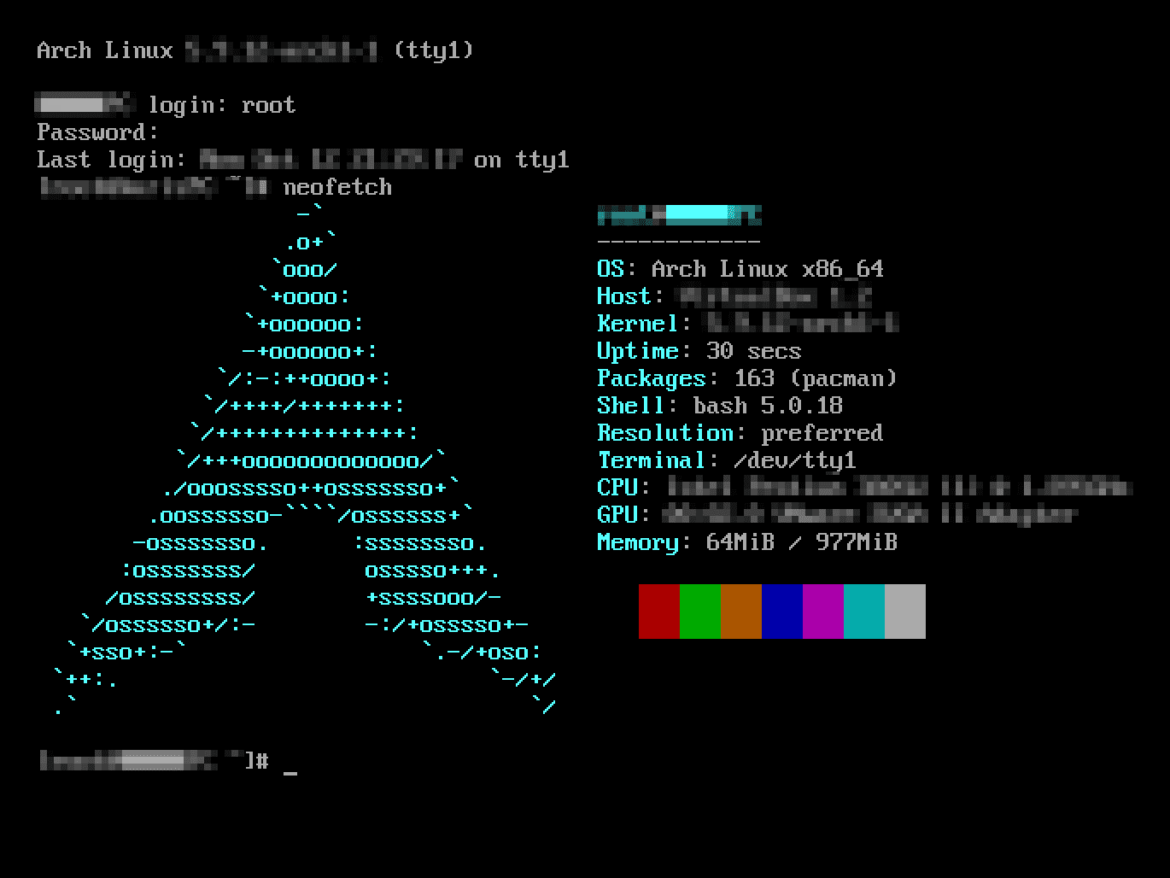
After completing these configurations, you can exit the chroot environment and reboot your machine. If all steps were correctly followed, you should boot into your new Arch Linux system.
Section 5: Post-Installation Steps
Congratulations! You’ve managed to install Arch Linux on your machine. Post-installation, there are a few additional steps to enhance your Arch Linux experience. You might want to create a regular user account, as working directly with the root account is not recommended.
Additionally, you’ll want to install some essential software. The ‘pacman’ package manager that comes with Arch Linux makes software installation straightforward. A desktop environment or window manager can also be installed if you prefer a graphical user interface.
Remember, Arch Linux is a rolling-release distribution, so ensure to periodically update your system using the ‘pacman -Syu’ command.

