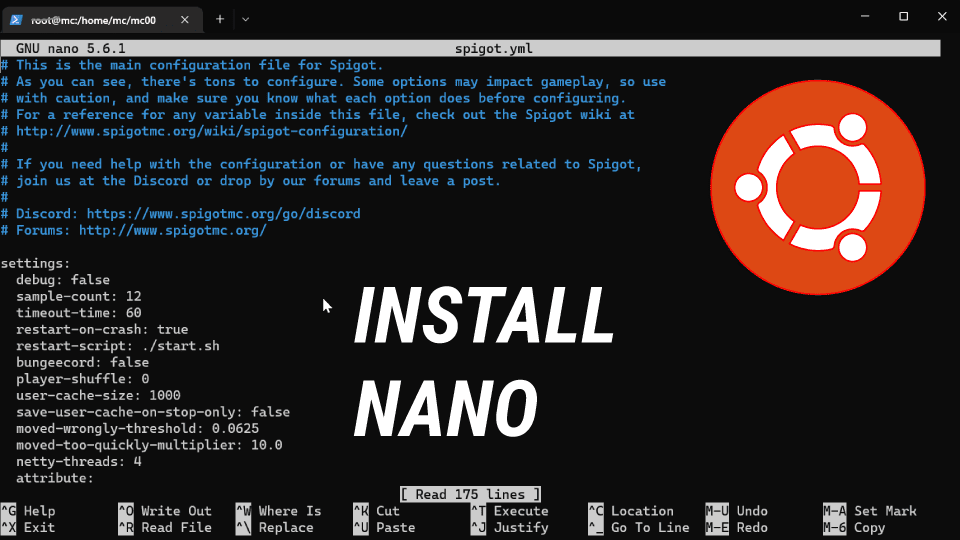
Those who have used Linux before will know that the terminal is the hub of the system. Use it to do anything you can imagine, including managing your entire system, browsing your filesystem, keeping tabs on your network, and writing text files. In other words, the terminal is your oyster in terms of what you can accomplish and nano can help. When you’re in the thick of things, it can be counterproductive to constantly switch between programs. The terminal is the best place to work with text or configuration files.
The learning curve for Vim and Emacs, two powerful Ubuntu command-line editors, is steep. Some new users may feel overwhelmed when exploring learning resources. Nano is designed for them. A simple Linux command-line editor. Let’s show you how to use and install nano on Ubuntu.
Prerequisites
- Ubuntu server 18.04 or 20.04 or 22.04
- Root access
Verifying whether it is already installed
Nano, like many other distributions, is available as part of Ubuntu’s default installation with the option to download and install updates at the time of setup. If you’re using Ubuntu 22.04 and want to check if nano is installed, you can do so with this command.
nano –versionLet’s begin setting up nano right now.
Updating the apt repositories
If you run this, any conflicts with dependencies will be resolved, and the installation will proceed without a hitch.
sudo apt updateAfter that, you’re ready to begin the installation with “apt.”
Install Nano
To initiate the installation, enter this command into the terminal.
sudo apt install nanoIf you get the prompt again after installation is finished, that means everything went smoothly.
Launching Nano
After nano has been installed, you can run it by typing its name into the terminal.
nanoWhen you hit “Return,” nano will start up and create a new file.
At the terminal’s window’s bottom, you’ll find a few convenient quick-access buttons. As it’s been around for longer than many of the computing conventions, you’ll see that the shortcuts for copy and paste are very different. Presently, a new document is being displayed in this panel. We can immediately begin making changes to the document.
Open a file
You can use the nano command to open a file in the nano editor by either starting the terminal in the directory containing the file or navigating to the desired directory. Since we gave the file the descriptive name “test file,” we can access it in this way:
nano ‘test file’If you want to edit the file in the nano editor, type the following command and press return.
Editing the files
As opposed to vi and vim, nano does not have a mode switch. Any file can be opened and edited without any additional preparation.
To move the cursor to a specific line or character number, press “Ctrl+_.” When you click this, the bottom options will shift and a prompt reading “Enter line number, column number” will appear.
Copying, cutting, and pasting within the files
The heading functions require that you first select some text to work on. To select all of a piece of text, place the cursor at the beginning of the passage and hit the “Alt+a” key combination. To the beginning, a checkbox will be added. Follow the directions below to get to the final section of this article. The third line should be copied:
Pressing “Alt+6” will now copy the text without selecting it. After copying the text, press “Ctrl+U” to paste it where you want it to appear.
Just like with “Ctrl+J,” “Ctrl+K,” and “Ctrl+U,” you can copy and paste the text you want.
Running a spellcheck
In contrast to Microsoft Word, not all features are included in the default download. A spellchecker package must be installed before you can use it to check your paper. To set up the spell checker, just run this:
sudo apt install spellThen, all you have to do is open a text document, press “Ctrl+T” to launch a command session, and “Ctrl+S” to run a spellcheck.
More information
Nano’s documentation is available via the “Ctrl+G” shortcut in Ubuntu 22.04.
You can explore its many features and functions and learn how to use them more effectively by using the links at the bottom of the page.
Uninstalling Nano
If you’ve had enough of nano and want to uninstall it from Ubuntu 22.04, run the command.
sudo apt autoremove nanoThis will begin the process of uninstalling nano and all of its prerequisites.
Conclusion
If you’ve been following along, you should now know how to install nano, how to use nano, and how to uninstall nano. Please leave a comment if you have any trouble with the installation or removal process.

